What tasty and useful things to put in a lunch box so that the student will definitely eat? KOLOBOK.ua starts a cycle of materials called "Snacks to School".
So that it is both healthy and tasty, and so that the brain works actively, and also so that it is convenient and safe to eat. For example, nuts are nutritious, in a convenient bag, but a child inadvertently can choke. There are different situations.
Therefore, you will have to come up with some other options that are useful and convenient. And besides, food should not be perishable, because some schoolchildren have to spend 6-8 hours in class.
Pita are unleavened, unleavened cakes in water, which are baked in a pan, and inside a pocket for filling.
You cut it in half, put vegetables, meat, cheese in each half. Here are two useful sandwiches. If the child is a little bit, then one will be enough for him, and the second can be taken to work.
So, we will tell you how to cook pita, and then we will share the recipe for pita with cutlet and vegetables.
Pita recipe
Ingredients:
- Warm water - 250 ml;
- Flour - 400 g;
- Dry yeast - 1 tsp l .;
- Salt - 0.5 tsp l.
Preparation:
There are two options: with fresh or dry yeast.
- Prepare a dough from fresh yeast - pour 20 g of fresh yeast with warm water, add 1 liter of sugar and 1 liter of flour, mix and use after the foam cap appears.
- It is easier with dry yeast. They must be poured into flour. Add a little salt. Sugar, as they say in many recipes, is not needed in order for the yeast to start acting sooner. Pick the yeast option and let's start cooking.
- Next, add warm water to the flour.
- Knead the dough, leave it in a warm place for 1 hour to rise.
- Roll out the dough 0.3-0.5 cm thick, cut out the cakes with a glass.
- Cover the dough with a towel and leave it warm for 40 minutes. During this time, the cakes will become larger.
- The next step is to fry. Preheat the frying pan well and put 3-4 cakes in a DRY frying pan, wait for them to rise. After two minutes they will "inflate", then turn the cakes over to the other side, fry for another 1.5 minutes. We remove the cakes. After they have cooled down, they may "deflate" a little, this is normal.
- We use the cakes for their intended purpose - we fill them with blanks. We are ready to share one of the recipe options already below, in the same material.
Many people ask the question: "Is it possible to cook cakes not in a frying pan, but in the oven?" Sure you may! Preheat the oven to 250 degrees and put the cakes on a dry baking sheet. As soon as the cake is like a ball ("swell") (watch them, it will take only -5-7 minutes), the pita is ready. And so we repeat with the following cakes.
Shelf life is 2 days, and yes, the pita stays fresh during this period. Be sure to store in a paper bag that closes tightly.

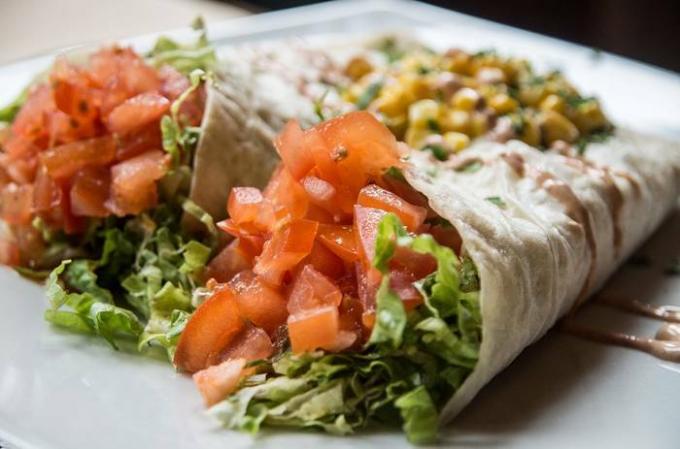
Pita with cutlet and vegetables (recipe) / pixabay.com
Recipe for making pita with cutlet and vegetables
Ingredients:
- 1 pita
- 1 turkey or minced chicken cutlet
- 1 young carrot
- 2 lettuce leaves
- 1 small cucumber
Preparation:
- We cut our pita (cake) in half, you can first dry it a little in a pan without oil.
- Cut the cutlet in half lengthwise so that it fits comfortably in the pita.
- We clean the carrots, cut into strips.
- Cut the cucumbers into strips.
- In each half of the pita, put half a cutlet, 1 leaf of lettuce and some carrots and cucumber.
Voila - done! We are sure that your student will love this snack.

